
Guide
Pierrot route guide
Check Pierrot-focused route notes after choosing patience, care, and steadier boundaries.
Day 2 Walkthrough
Use Day 2 to confirm your route. Save before the tent split, compare Pierrot and Harlequin reactions, then check endings without treating fan theories as formulas.
Quick answer
Day 2 is where most players should stop and make a backup save. Pick the tent that matches your run, note the timed-choice reactions, then check endings from that branch.
Character-route entry points
Pick the route lens that matches your tent choices, then use the Day 3 status hub only for future-content prep. These entries avoid unconfirmed ending formulas and full-route promises.
Guide
Check Pierrot-focused route notes after choosing patience, care, and steadier boundaries.
Guide
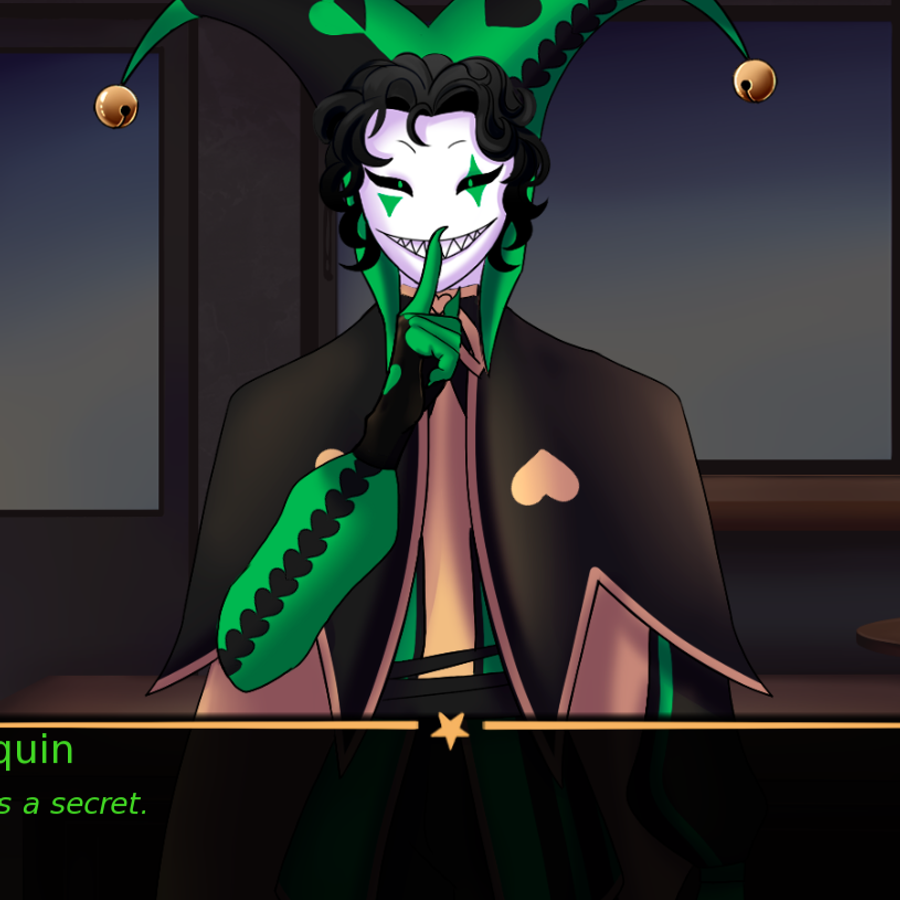
Compare Harlequin tension, provocation, and performance-driven route signals.

Guide
Read Jester story context without treating a full Jester route as confirmed.
Guide
Separate route-save prep from public release rumors before chasing future endings.
Interactive helper
Confirm your route direction before you chase hidden scenes or ending cleanup. If the split is already clear, move straight to the ending status page.
For most players, Day 2 is the route check: save before the tent split, choose Pierrot or Harlequin deliberately, then treat Ticket Taker, Doctor, mirror-room, and hidden-scene clues as observations rather than confirmed ending requirements.
Fast safe route: save before Jester's story → choose the tent that matches your intended character focus → record timed-choice reactions → check endings only after the route conclusion scene.
Use this quick checklist before reading the scene-by-scene notes:
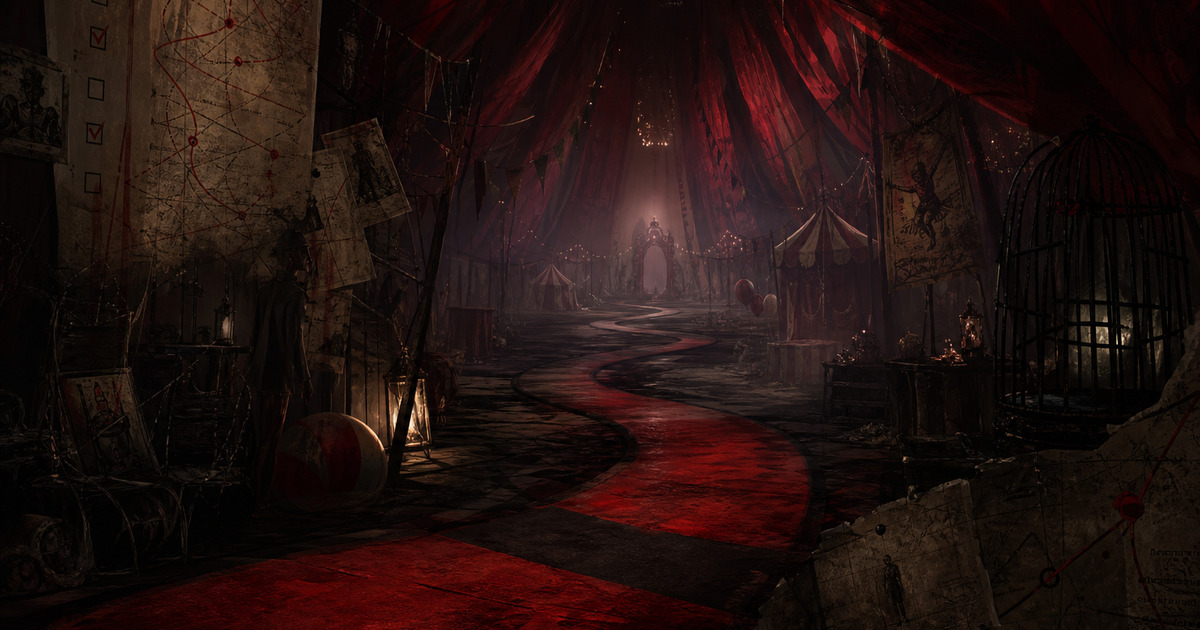
Day 2 is where The Freak Circus transforms from "unsettling circus visit" to intimate horror-romance. You return to the circus and enter individual character tents: each a self-contained narrative unit with unique mechanics.
Estimated playtime: 60–120 minutes
locations: Jester's stage → Pierrot's tent / Harlequin's tent → Ticket Taker's tent → Doctor's tent
Route direction: By the end of Day 2, the current guide can usually identify a likely character-route direction; future ending rules remain fan-provided / unverified
Best first action: make a clean save before the tent choice so you can compare route signals without replaying the full day.
Setting: Main tent. Jester narrates a theatrical story about Columbina's death.
Jester tells the Columbina story, but his version is biased. Treat this scene as lore and foreshadowing, not a neutral history lesson. What you learn:
| Jester's Phrase | Meaning | Route Hint |
|---|---|---|
| "The Poison" | Refers to Harlequin | Harlequin route players: pay attention |
| "The Silent One watched from afar" | Pierrot's trauma | Pierrot route players: this explains his protectiveness |
| "Lust consumed them all" | Jester's own role | Future content hint |
After Jester's storytelling, the tent choice becomes a major route-direction moment. This is one of the strongest current-build route-direction signals.
Route signal: Day 1 choices that favored Pierrot, such as accepting the flower and showing support, may shape this scene.
What happens:
Choice Philosophy:
| Your Boundary | Pierrot's Response | Outcome |
|---|---|---|
| Accept his devotion | He becomes more openly affectionate | Pierrot-focused scene signals strengthen |
| Set gentle boundaries | He apologizes, adjusts behavior | Softer Pierrot-focused variation |
| Reject him completely | He becomes distressed, may trigger darker scene | Darker or less romantic current-build outcome |
| Encourage obsession | He escalates in darker ways | Intense/dark current-build variation |
⚠️ Content Warning: Pierrot's tent contains themes of stalking, sleep-watching, implied non-consensual kissing, and drugging (if you say you won't return). The game handles these as romanticized horror, not realistic abuse. Player discretion advised.
Prerequisite: Day 1 choices engaged Harlequin (didn't reject him, showed curiosity about his act).
What happens:
Choice Philosophy:
| Your Energy | Harlequin's Response | Outcome |
|---|---|---|
| Match his boldness | He escalates playfully | Romantic route deepens |
| Show vulnerability | He pauses, adjusts (surprising softness) | Tender route variation |
| Reject after entering | He's disappointed but not destructive | Route ends |
| Hug him unexpectedly | He's confused/surprised: rare flustered moment | Unique dialogue |
📝 Character Note: Harlequin is described as "not familiar with affection" (Fandom Wiki). When you hug him, he's genuinely surprised. This is a character moment that contrasts with Pierrot's constant need for contact.
Setting: A tent full of mirrors. Some show reflections, some show... more.
Ticket Taker's tent is a puzzle sequence with narrative rewards:
| Mirror Type | What You See | Lore Revealed |
|---|---|---|
| Cracked mirror (left) | Pierrot's true form (white/silver monster) | His "mask" is his face |
| Cracked mirror (right) | Harlequin's forked tongue, green markings | His seduction is literal poison |
| Black mirror (center) | Ticket Taker himself, watching you | He controls what the mirrors show |
| Repeatedly look at broken mirror | Ticket Taker approaches closer | "I'm getting closer, guest." |
If you interact with him repeatedly:
💡 Tip: Ticket Taker calls you "Red ticket guest" even if you're on Harlequin's route. This suggests the ticket color is more about circus categorization than romantic routing.
Setting: A medical tent with specimens, tools, and a plague doctor aesthetic.
Doctor's tent is primarily lore delivery with some route implications:
Doctor is calm, professional, and scientifically curious. Unlike Pierrot's emotional intensity or Harlequin's theatricality, Doctor observes you with clinical interest.
quote: "Did you know bloodletting can have calming effects? For me, of course!"
📌 Route Status: Doctor does not have a full romantic route in the current build. His tent is optional but recommended for completionists.
Day 2 concludes with Pierrot asking you to stay: with the circus, with him. Your response:
Day 2 concludes with Harlequin making a promise:
This is framed as seduction, not threat, but the language mirrors Pierrot's obsession.
If you avoided both tents or made contradictory choices, Day 2 ends with Jester observing you. He says he'll "know how to find you": setting up future content.
Before considering Day 2 complete, ensure you have:
Q: Can I enter both Pierrot and Harlequin's tents?
A: Not in the current build. The current build asks you to choose one per playthrough.
Q: What happens if I skip all tents?
A: Jester intercepts you. This triggers a neutral/observation ending that sets up future content.
Q: Is Ticket Taker's tent required for completion?
A: No, but it contains significant lore about mirror mechanics and Ticket Taker's "Reality Manipulator" role.
Q: Does Doctor's tent have jump scares?
A: No jump scares, but medical horror atmosphere (specimens, bloodletting references).
Q: When does Day 3 release?
A: No confirmed date. Follow Neko Bueno's Tumblr for updates.
How we're different from other Day 2 guides:
For official updates: garula.itch.io | Freak Circus Tumblr
Last updated: May 2026 | thefreakcircusguide.org
Day 2 is where The Freak Circus reveals most of its current content. After completing it, you have several options:
Interactive helper
Use endings if you are replaying current content, or check the Day 3 status hub if you are trying to separate playable content from update rumors.
FAQ
Prioritize the Pierrot's Tent vs Harlequin's Tent split, timed-choice reactions, and any follow-up scene that changes route tone. Keep a clean save before the tent split.
If your route direction is unclear, use the route calculator. If you are replaying current content, check endings status. If you are looking for future content, use the Day 3 status hub before trusting update rumors.
The current public build includes Jester-related Day 2 content, but a full Jester route should be treated as fan-provided / unverified until official or reproducible confirmation exists.
Use a manual save before the Doctor medicine choice, then test both accept and deny if you are route-checking. This guide treats exact medicine effects as current-build/player-reported unless official or reproducible evidence confirms a fixed route result.
Related guides
Next page
Open guide
Next page
Open guide
Next page
Open guide
Next page
Open guide
Next page
Open guide
Next page
Open guide
Next page
Open guide
Next page
Open guide
Next page
Open guide